Pairing and Initializing a PTP/IP Connection with a Canon EOS Camera
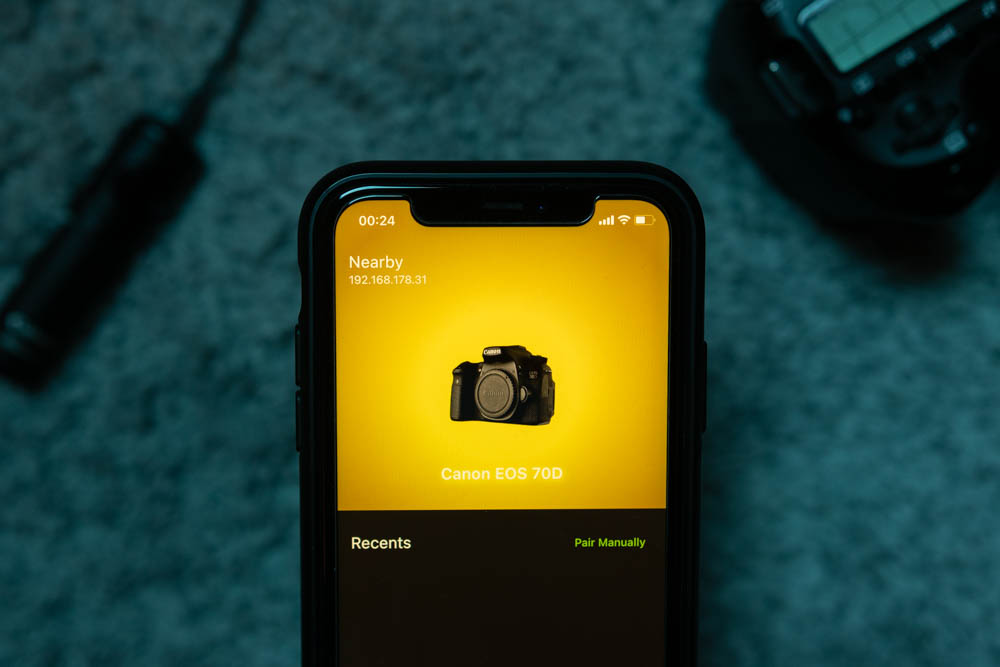
Canon EOS cameras - like the EOS 70D - feature built-in WiFi and remote-control capabilities based on the PTP/IP protocol. This article describes how to pair to a camera and initialize a connection.
Disclaimer
While this article tries to document all necessary steps to initiate a PTP/IP connection to a Canon EOS camera, be aware that I cannot cover the PTP protocol in all its details, nor do I have access to the full PTP standard.
Credits and Sources
When implementing PTP/IP for my CineRemote App, I used ptplibrary by Ladislav Heller as a reference. As for documentation, I found a PTP/IP specification draft on CIPA’s website. Other than that, I have spent countless hours in Wireshark to figure out the meanings of specific bytes.
The PTP/IP Protocol
The Picture Transfer Protocol (PTP) is a standardized protocol introduced to support bi-directional image communications for devices like cameras or printers. The protocol is transport independent, which means you can use a USB or a TCP/IP connection, subject to your use case. Accordingly, PTP over TCP/IP is called PTP/IP.
Camera Discovery
Canon EOS cameras utilize the Universal Plug and Play (UPnP) protocol to notify other devices on the network about their existence.
For reference, this is the content of an alive message.
NOTIFY * HTTP/1.1
Host: 239.255.255.250:1900
Cache-Control: max-age=1800
Location: http://192.168.0.120:49152/upnp/CameraDevDesc.xml
NT: urn:schemas-canon-com:service:ICPO-WFTEOSSystemService:1
NTS: ssdp:alive
Server: Camera OS/1.0 UPnP/1.0 Canon Device Discovery/1.0
USN: uuid:00000000-0000-0000-0001-60128B7CC240::urn:schemas-canon-com:service:ICPO-WFTEOSSystemService:1Establishing a PTP/IP Connection
Before connecting to a Canon EOS camera, ensure its WiFi, including the correct connection setting, is active.
Initial Pairing
When connecting to the camera for the first time, in brief, the steps are as follows:
- Turn on WiFi
- Navigate to the
WiFi Functionmenu - Select
Remote control (EOS Utility) - Setup WiFi using one of the following options:
Camera access point mode: The camera acts as an access point.Infrastructure mode: The camera joins an existing network.
- Once the camera displays the pairing screen, perform the connection sequence.
- When successful, the camera asks you to save the configuration.
- The client GUID and client name, which were used to connect to the camera, act as the pairing data. Therefore, the client should store these properties for future use.

Refer to your camera’s manual for a more in-depth connection setup guide. (e. g. Canon 70D WiFi Function Manual)
Connection Sequence
The connection sequence involves opening command and event sockets as well as sending init requests to each channel.
Create a socket connection to the camera at port 15740. This connection acts as the command channel.
Once the command channel is established, send an Init Command Request to the command channel.
The init payload contains a client name and client GUID. Canon EOS cameras use these fields to match the client to a connection setting. Therefore, if you attempt to connect to a camera for the first time, you must ensure the camera is in pairing mode. Find out more in the section: Initial Pairing.
The camera responds with an Init Command Acknowledgement response on the command channel. Analogous to the issued request, the response contains a GUID and name so the client can identify the camera.
Open another socket connection to the camera at port 15740. The second socket connection acts as the event channel.
While the event socket is part of the PTP/IP specification, Canon EOS cameras use a proprietary event reporting mechanism based on polling events through the command channel.
Send an Init Event Request to the event channel. As for the connection number, use the value returned in the Init Command Acknowledgement response.
The camera responds with an Init Event Acknowledgement response on the event channel.
Initializing the Connection
After establishing the connection, you must send three additional PTP requests to initialize the session.
Besides sending an OpenSession request, a standard PTP operation, you must enable the RemoteMode and EventMode.
The latter operations are Canon-specific but are necessary to control the camera and request its event data.
To open a PTP session, send a 0x1002 (OpenSession) operation request to the command channel.
If all goes well, the camera answers with an operation response packet containing the response code 0x2001, which means the request was successful.
Enable the RemoteMode on the camera using the 0x9114 (SetRemoteMode) operation.
Enable the EventMode with the 0x9115 (SetEventMode) operation.
When all three operations respond with an 0x2001 response code, you are ready to go.
If you are interested in checking out my implementation written in Dart, a good starting point is the EosPtpIpCameraFactory